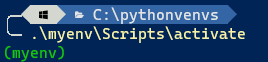
First activate the virtual environment and install the package pyarrow with the command pip install pyarrow. This will install the required package in the virtual environment. You can check if the package is installed by running the command pip list.
Note that in future releases of Pandas the pyarrow package will be included by default. This means that you don’t have to install the package separately.
Feather files?
Feather is a fast, lightweight, and easy-to-use binary columnar data store. It is designed to make reading and writing data frames efficient, and to make sharing data across data analysis languages easy. Feather uses the Apache Arrow columnar memory specification to represent binary data on disk. This makes reading and writing data frames in Python and R very fast. Feather is a part of the broader Apache Arrow project. If you installed the package pyarrow you can read and write feather files in Python. Basically it extends pandas capabilities to read and write feather files.
import pandas as pd

# Read the feather file
df = pd.read_feather('C:/path/to/your/file.ftr')

# Write a dataframe to a feather file
df.to_feather('C:/path/to/your/file.ftr')
Power BI and feather files
Even though Power BI has a lot of connectors to read data from different sources, it doesn’t have a connector to read feather files at the moment of writing this blog post. However, we can use Python to read the feather file and import the data into Power BI.
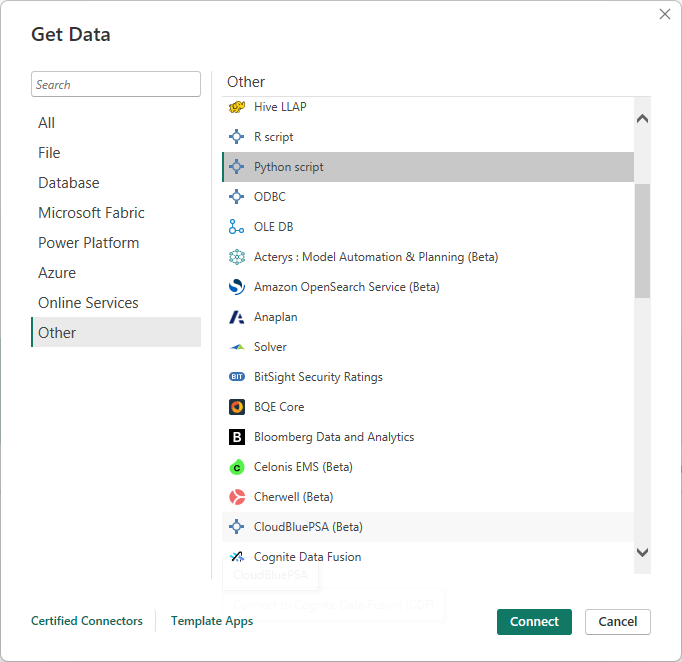
After creating a new report in Power BI, check if the virtual environment is set up correctly as per the former blog post. If so select Get datasource > More... > Other > Python script and click Connect.
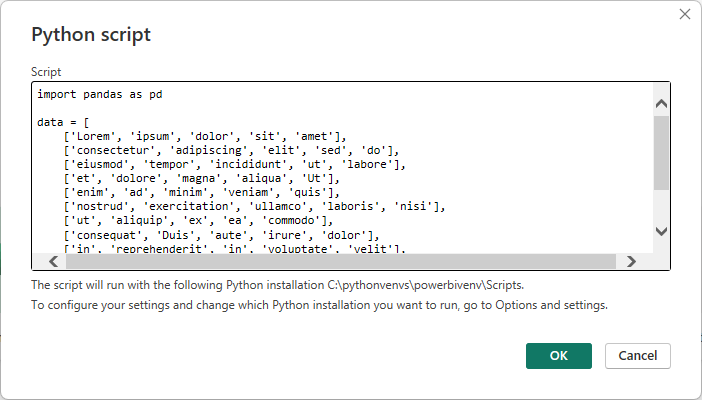
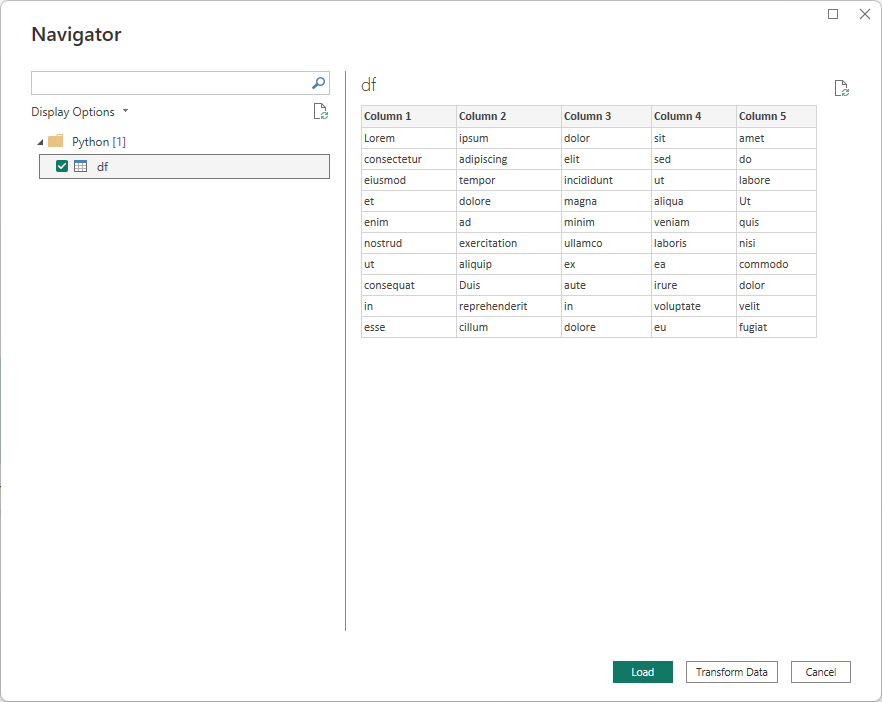
The editor will appear. Here you can provide some Python code to read the feather file and import the data into Power BI.
import pandas as pd
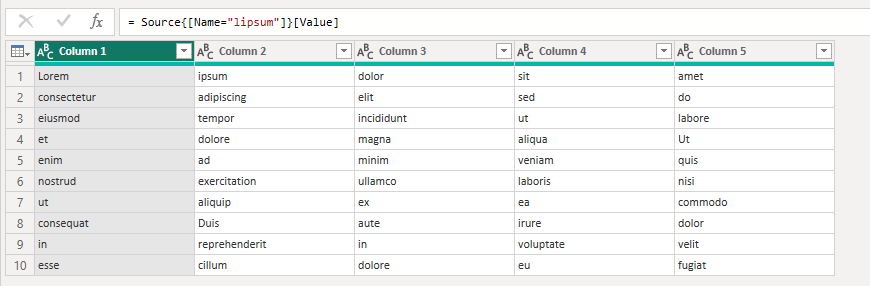
lipsum = pd.read_feather(r'C:\temp\test.ftr')
Notice the r in front of the path. This is to indicate that the string is a raw string. This is useful when you have backslashes in your path. The pd.read_feather function reads the feather file and stores the data in the variable lipsum. You can now use the variable lipsum to manipulate and visualize your data in Power BI.